Want to add an intelligent AI Assistant to your website that can instantly answer visitor questions and provide 24/7 support? You’re in the right place! This step-by-step guide will show you how to set up a smart AI Assistant using SiteAssist in just a few minutes.
By the end of this tutorial, you’ll have a fully functional AI Assistant live on your website, ready to help your visitors and reduce your support workload by up to 90%.
What You’ll Need
- A website (any platform: WordPress, Shopify, Squarespace, custom-built, etc.)
- 5-10 minutes of your time
- Access to your website’s code or admin panel
That’s it! No technical expertise required.
Step 1: Create Your SiteAssist Account
First, you’ll need a SiteAssist account. The good news? It’s completely free to get started.
- Sign up at siteassist.io/register
- Complete the onboarding process (this includes creating your workspace and first project)
- Verify your email if prompted
Choose Your Starting Option:
- Free Plan: Perfect for testing and small websites - includes 1 project, 200 AI Assistant messages per month, and up to 30 pages of website content
- 30-Day Free Trial: If you have a larger website (more than 30 pages) or want to test advanced features, start with our 30-day free trial of any paid plan
The free plan is great for getting started, but if your website has more than 30 pages, we recommend trying the free trial to train your AI Assistant on your complete website content.
Step 2: Set Up Your Web Crawler
Here’s where the magic happens. A web crawler is like having a smart assistant read through your entire website to understand what you offer, your services, and how you help customers.
Configure Your Crawler
-
Navigate to the “Web Crawlers” tab in your SiteAssist dashboard
-
Click “Add Crawler” to create a new crawler
-
Fill in the details:
- Name: Give it a descriptive name like “My Company Website”
- Start URL: Enter your website’s main URL (e.g.,
https://yourwebsite.com) - Preset: Choose the option that best describes your site:
- Website - Perfect for most business websites
- Documentation - For help docs, guides, or technical sites
- Blog - For news, blog, or article-focused sites
- E-commerce - For online stores (coming soon!)
-
Click “Create & Start Indexing” to start the process
What Happens Next?
Your crawler will automatically:
- Discover all your website pages
- Read and understand your content
- Create a comprehensive knowledge base for your AI Assistant
- Usually takes 2-5 minutes depending on your site size
You’ll see a progress indicator and logs showing the crawler working. Don’t worry - this is completely safe and only reads your public website content.
Note for Free Plan Users: The free plan includes crawling up to 30 pages of your website. If your site is larger, consider upgrading to our 30-day free trial to train your AI Assistant on your complete website content.
Step 3: Let Your AI Learn Your Business
While your crawler is working, it’s creating an intelligent understanding of your business. The AI is learning:
- Your products or services
- Common customer questions and answers
- Your brand voice and tone
- Navigation and site structure
- Contact information and policies
Once the crawler finishes, your AI Assistant will be ready to provide accurate, contextual help to your visitors based on your actual website content.
Step 4: Customize Your AI Assistant (Optional)
Want to make your AI Assistant truly yours? Here are some quick customizations you can make:
Appearance Settings
- Display Name: What your visitors will see (e.g., “Alex from [Your Company]”)
- Welcome Message: The first thing visitors see when they open the chat
- Colors: Match your brand colors
- Theme: Choose light, dark, or auto
Behavior Customization
- System Prompt: Customize how your AI Assistant behaves and responds
- Brand Voice: Make it sound professional, friendly, casual, or however fits your brand
Test Your Assistant
Use the Live Assistant Testing feature to chat with your AI Assistant before it goes live. Ask it questions about your business to see how it responds.
Step 5: Add Your AI Assistant to Your Website
This is the final step - making your AI Assistant live for your visitors!
Get Your Embed Code
- Go to the “Embed” tab in your dashboard
- In the “Embed Chat Widget” section:
- Select your API key from the dropdown
- Choose your preferred theme (auto/light/dark)
- Click “Copy Snippet” to copy the HTML code
Add the Code to Your Website
The method depends on your website platform:
WordPress Users:
- Go to Appearance → Theme Editor → header.php
- Paste the code before the
</head>tag - Save changes
Shopify Users:
- Go to Online Store → Themes → Actions → Edit Code
- Open theme.liquid file
- Paste the code before
</head> - Save
Squarespace Users:
- Go to Settings → Advanced → Code Injection
- Paste the code in the “Header” section
- Save
Other Website Builders:
- Look for “Custom Code,” “HTML/CSS,” or “Header Code” sections
- Paste the code there
- Save and publish
Custom/HTML Websites:
- Add the code to your HTML template’s
<head>section - Upload the updated files
Go Live!
Save and publish your website changes. Within a few minutes, you should see:
- A small chat bubble in the bottom-right corner of your website
- Visitors can click it to start chatting
- Your AI Assistant will respond instantly with relevant information
Test Your Setup
Before announcing your new AI Assistant to the world, test it yourself:
- Visit your website in a new browser tab
- Click the chat bubble to open the assistant
- Ask questions about your business, products, or services
- Verify the responses are accurate and helpful
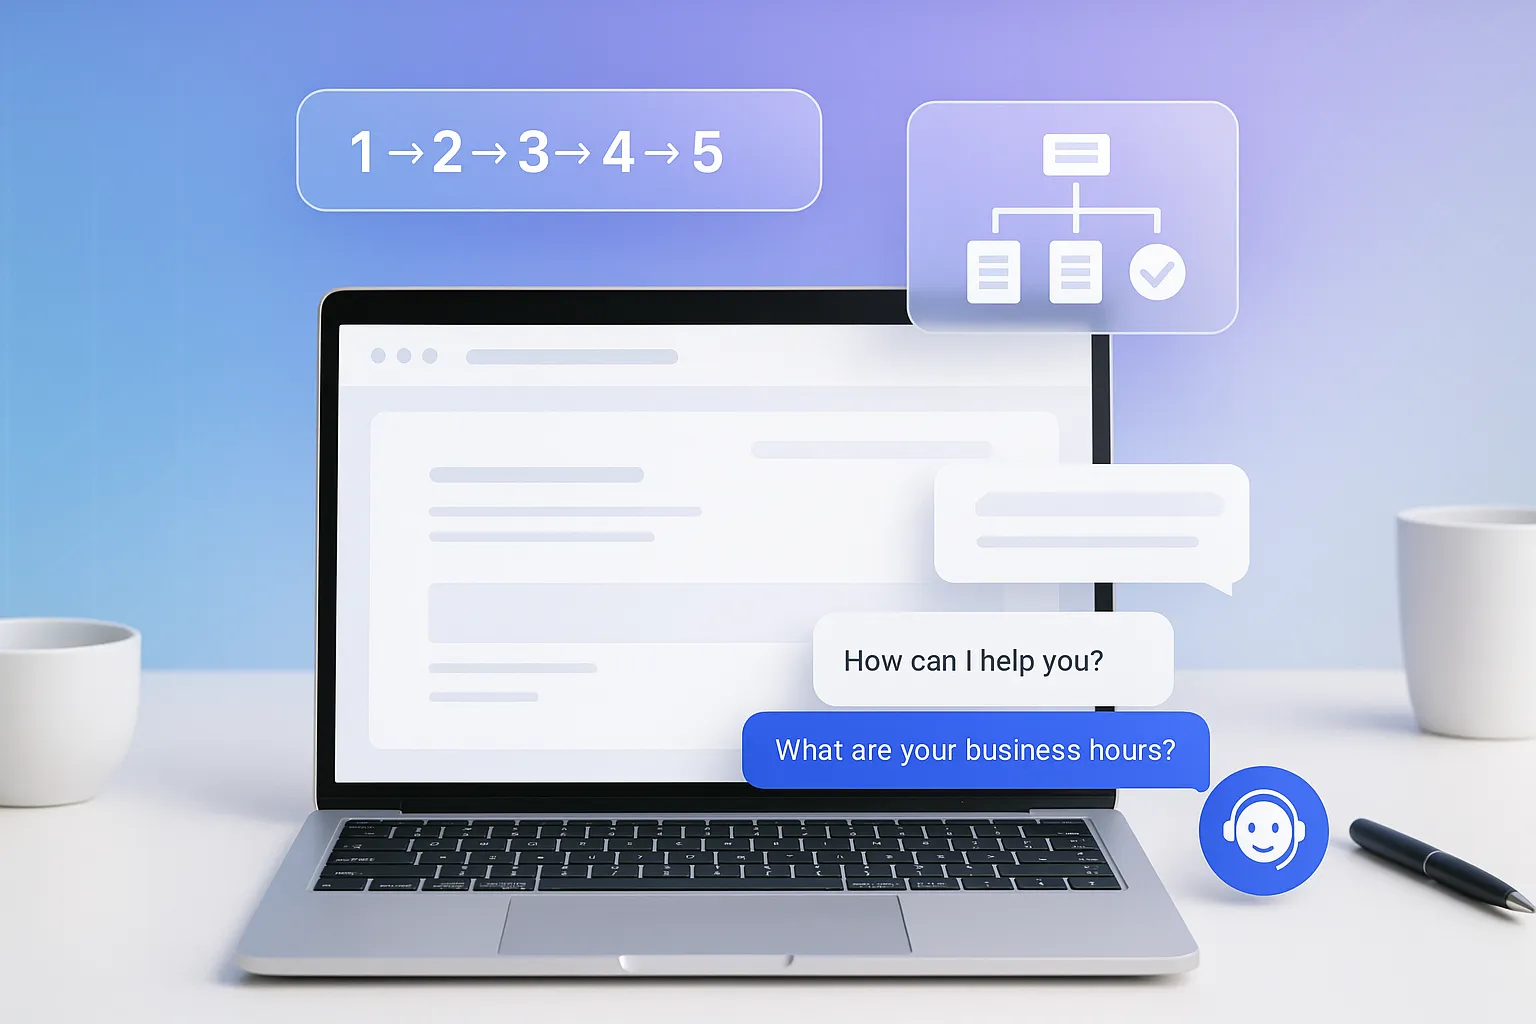
Try asking questions like:
- “What services do you offer?”
- “How much does [your product] cost?”
- “How do I contact support?”
- “What are your business hours?”
What’s Next?
Congratulations! Your AI Assistant is now live and helping your visitors 24/7. Here are some ways to get even more value:
Monitor Performance
- Check your dashboard for conversation analytics
- See what questions visitors are asking most
- Identify areas where you might need to add more content
Enhance Your Assistant
- Upload additional documents (PDFs, Word docs) for more comprehensive answers
- Add custom Q&As for information not on your website
- Fine-tune responses based on visitor interactions
Scale Your Support
- Set up human handoff for complex inquiries that need personal attention
- Create multiple assistants for different departments or use cases
- Use the REST API to build custom integrations
Advanced Features
As your needs grow, explore:
- Multiple AI model options (OpenAI, Claude, Gemini, Grok)
- Team collaboration features
- Advanced analytics and reporting
- Third-party integrations (coming soon!)
Need Help?
Setting up your AI Assistant should be straightforward, but if you run into any issues:
- Email us at support@siteassist.io
- Check our documentation for detailed guides
- Contact us for personalized setup assistance
We’re here to help you succeed and will even help you build custom integrations if needed!
The Bottom Line
In just 5 simple steps, you now have an intelligent AI Assistant that can handle 90% of your customer questions automatically, while seamlessly handing off complex issues to your human team.
Your visitors get instant answers 24/7, your support team focuses on high-value tasks, and your business never misses an opportunity to help a potential customer.
Ready to transform your customer support? Get started with SiteAssist today - it’s free to try and takes just minutes to set up.
Have questions about setting up your AI Assistant? Drop us a line at support@siteassist.io - we’d love to help!